In this article, we will explore everything you need to know about nail enhancement and nail art brushes, essential tools for sculpting nails and creating decorative designs.
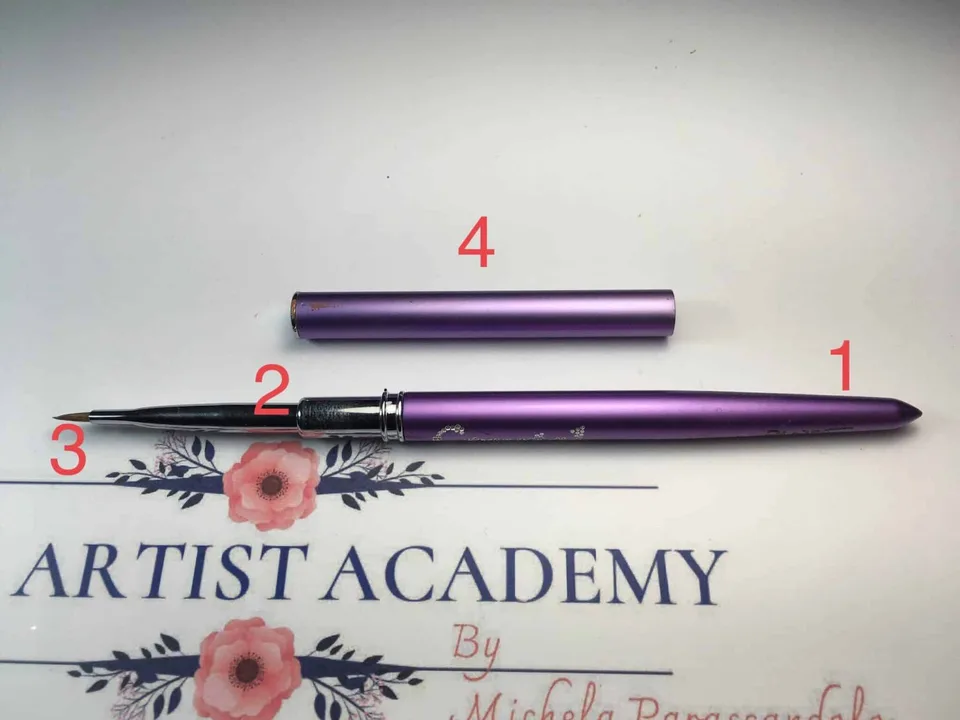
A brush consists of 3 or 4 parts:
- handle (1)
- ferrule (2)
- bristles (3)
- cap (4 - optional)
It is worth investing in quality brushes from the outset, or as early as possible, because they play a major part in how successfully you can perform a technique.
A quality tool certainly costs more, but if you look after it properly, it can be a reliable companion for years.
I will explain how to prepare, clean and maintain your brushes.
Preparing nail enhancement and nail art brushes for first use
Before first use, each brush needs specific preparation:
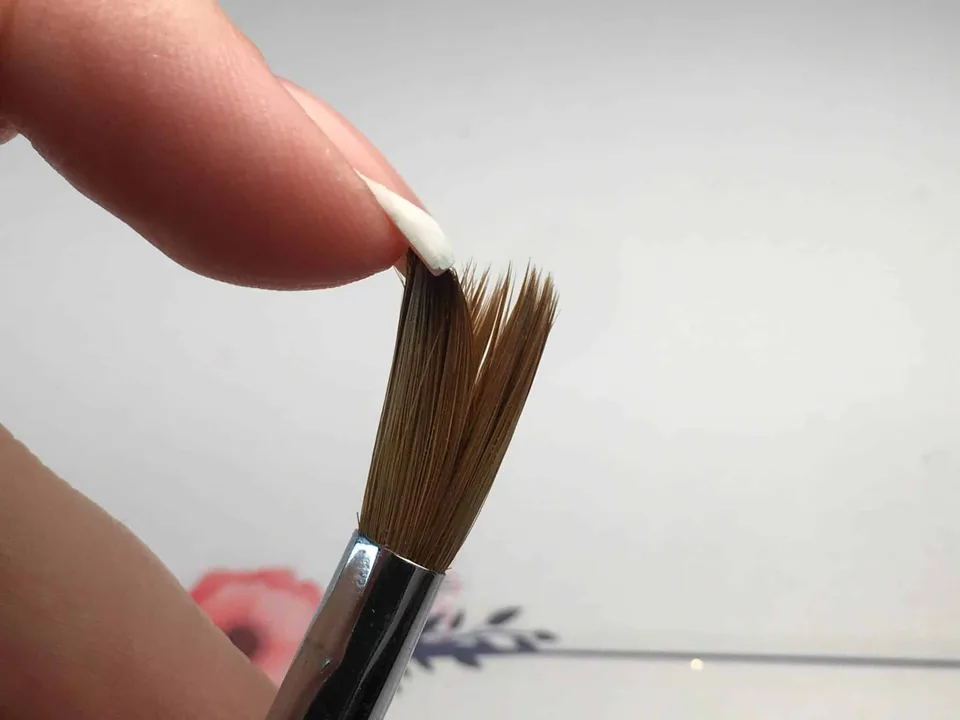
- Take the brush out of its packaging, remove the cap and gently use your fingers to remove the glue that the manufacturer has applied to keep the bristles together, gently stroking them with your fingernails.
Working under your desk lamp makes this easier. The glue comes away as a fine white powder. Continue until little or no powder is released.
- Now we can immerse the bristles of the brush in the material for which it is intended (gel, water, cleaner, monomer...) until they are completely soaked.
We're ready to work!
Gel sculpting brushes
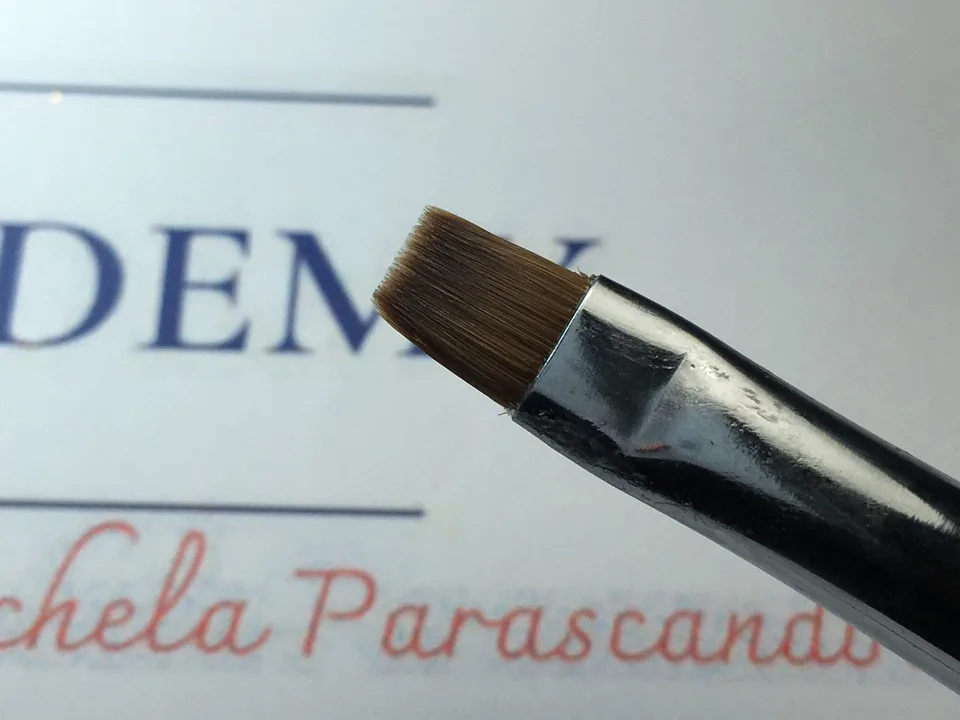
Generally, extensions and overlays are created using classic flat, rectangular brushes, available with natural or synthetic bristles.
A size 8 is usually used for larger amounts of product, such as when sculpting extreme shapes, while size 6 may be better suited to salon work.
Brushes for applying colour gel
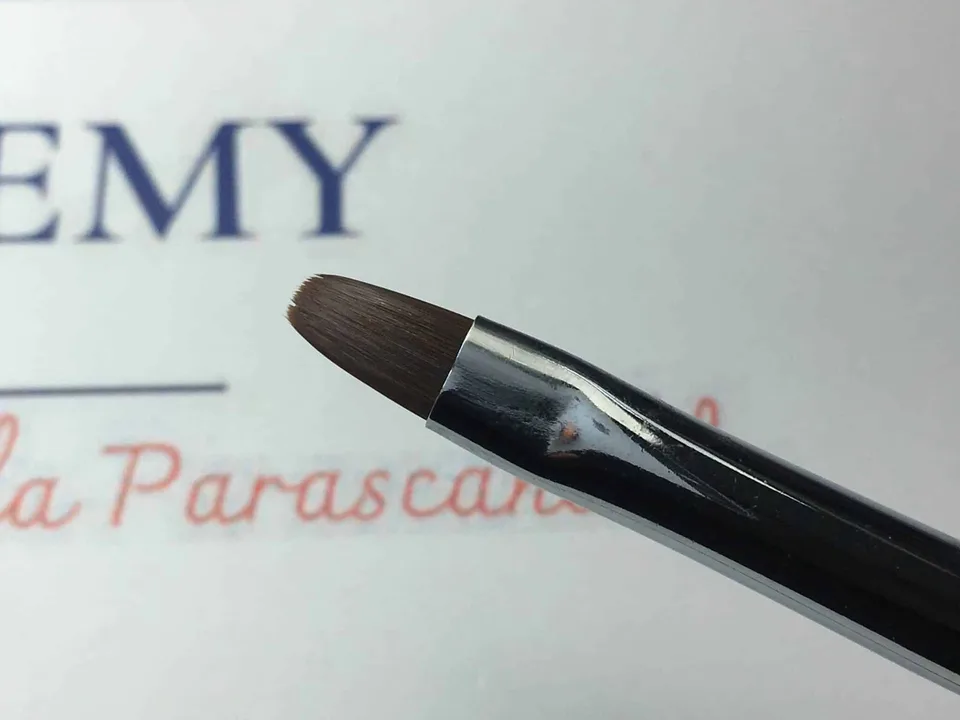
For a flawless single-colour application, we need an oval brush that follows the rounded contour of the cuticle area.
Whether natural or synthetic, the bristles should be soft so that they do not leave streaks in the colour. Avoid very stiff bristles.
Size 6 is generally the best choice, as it suits nails of all sizes.
Brushes for gel nail art
There are many gel nail art techniques, and they may require a range of different brushes.
Let’s look at the most common:
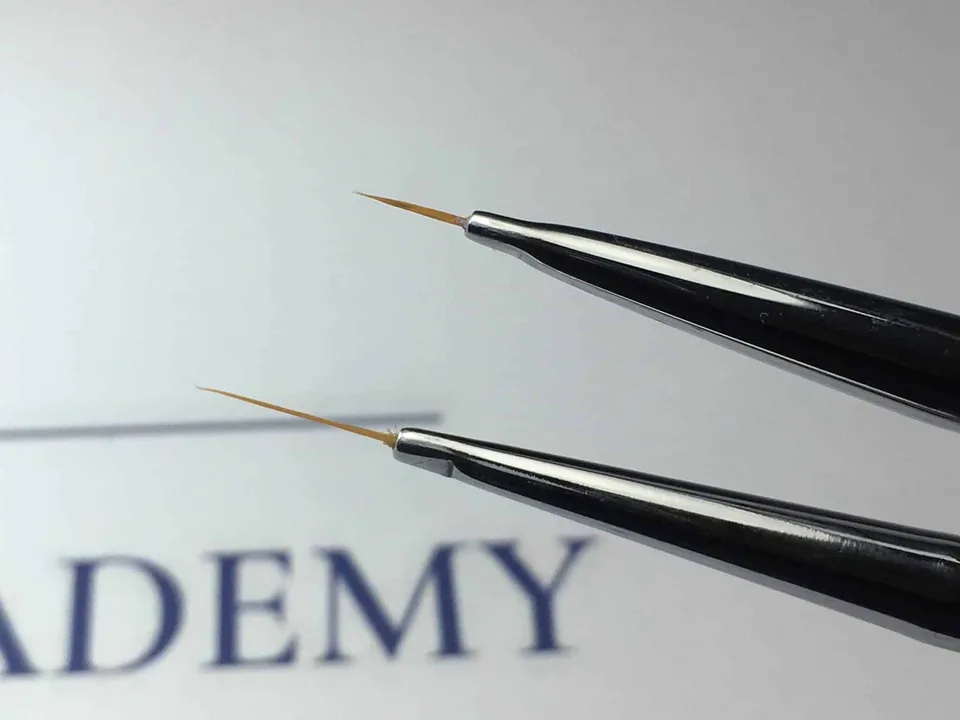
- fine lines and arabesques: use liner brushes, very fine brushes usually available in two lengths: 7 mm and 11 mm.
The longer brush is particularly useful for long, straight lines, such as those dividing a tip or nail vertically in half;
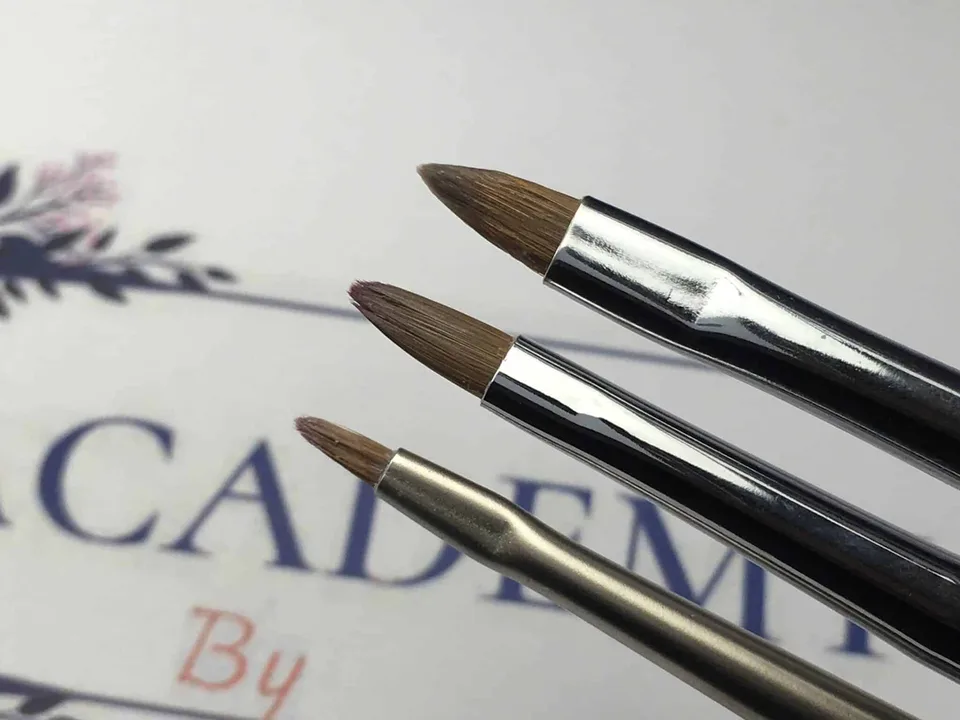
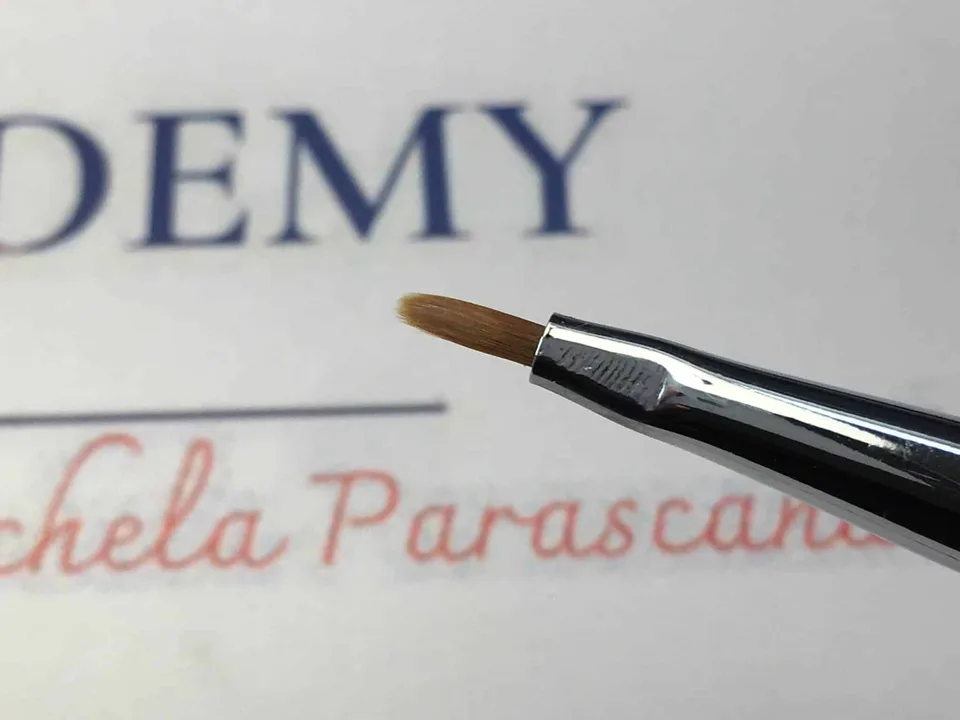
- Gel painting /designs and gradients: pointed filbert brush, available in sizes from 0 to 4.
The finer the detail, the smaller the brush should be;
- Wet-on-wet flowers: oval brush like the one used for single-colour application, but much smaller: size 2 or 1;
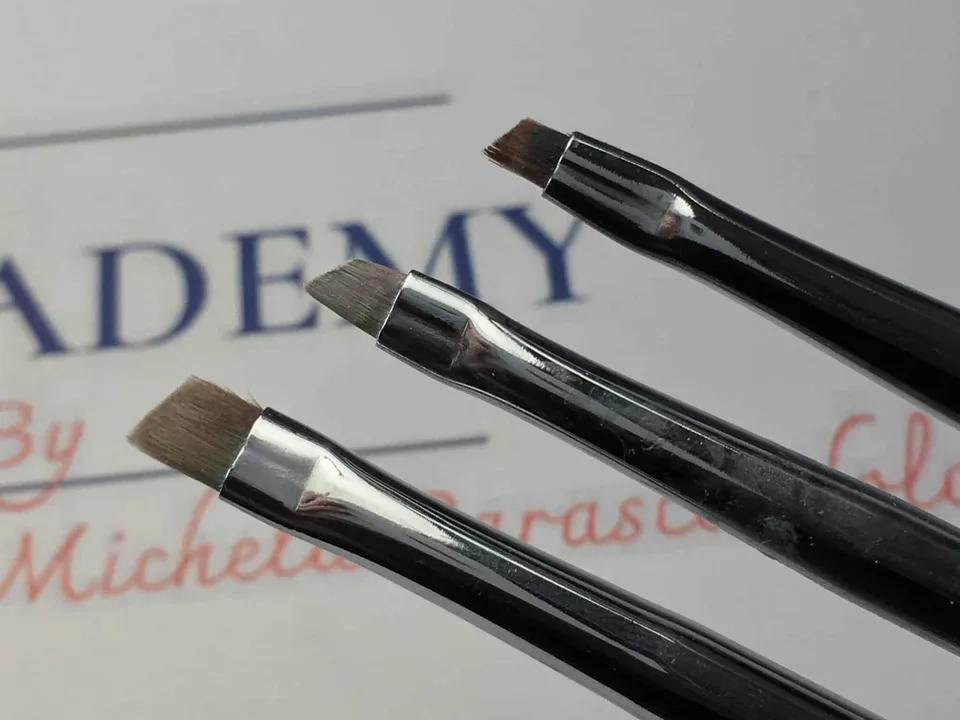
- The flat technique (also called one stroke or one move) in gel: angled brushes generally come in 3 fairly standard sizes: large, around 5/6; medium, around 3/4; and small, around 1/2;
- Techniques that require fine bristles with a little more body, such as working with 3D gel or very thick gels: a watercolour or acrylic painting brush;
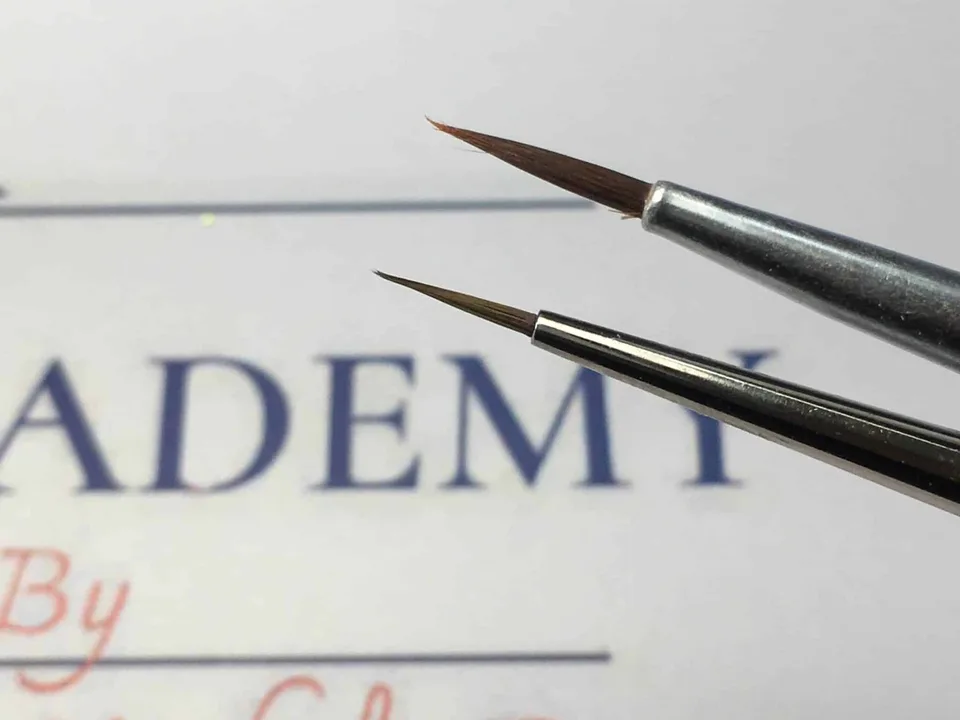
- Painting with gel polish: a watercolour or acrylic painting brush, like those shown above;
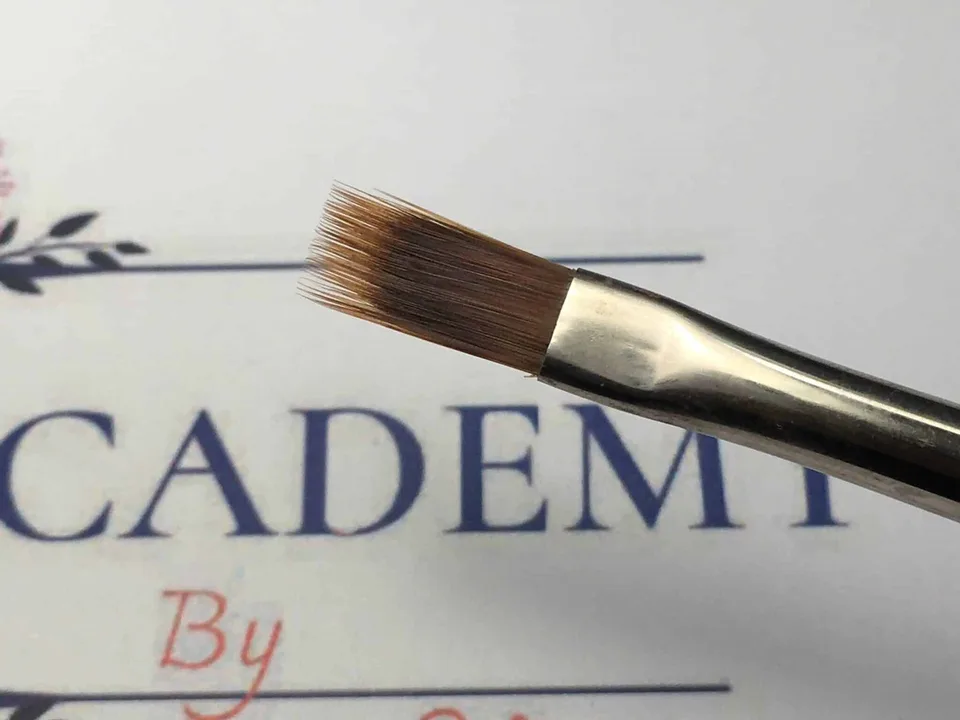
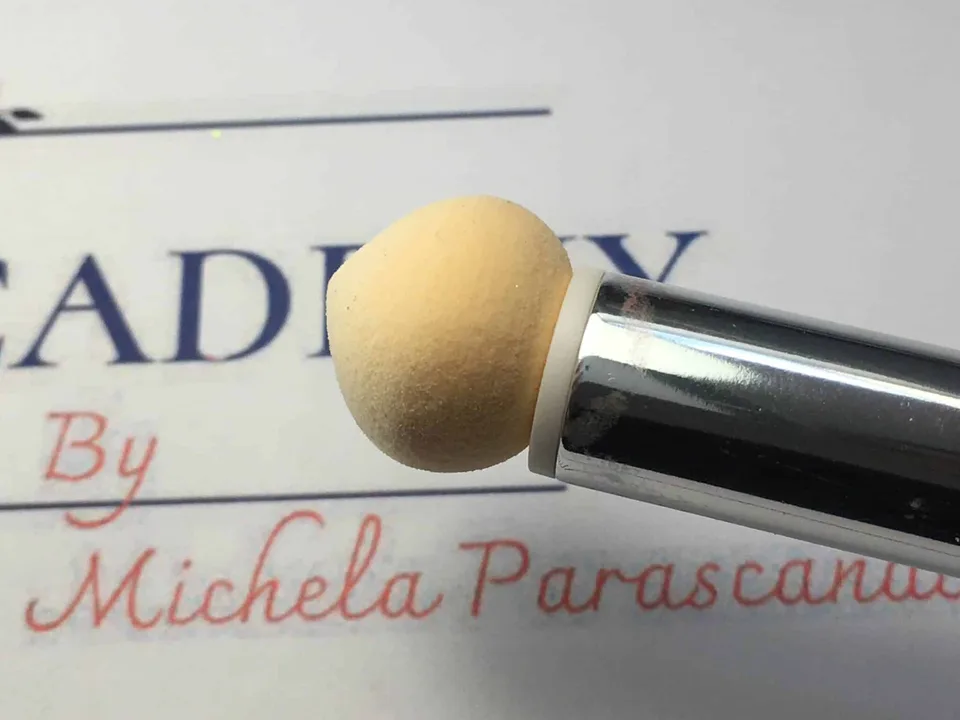
- Gradients: a dedicated brush combining short and long bristles, in a standard size.
Alternatively, use a sponge brush.
Gradients can be created using different techniques and brushes;
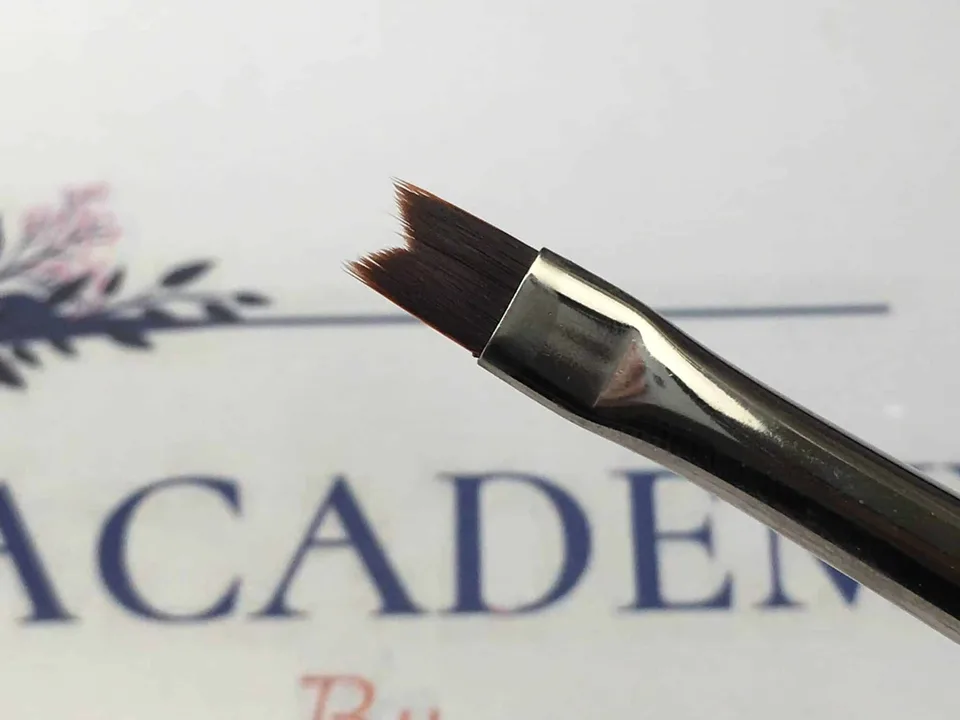
- Marbling: swallowtail brush in size 4;
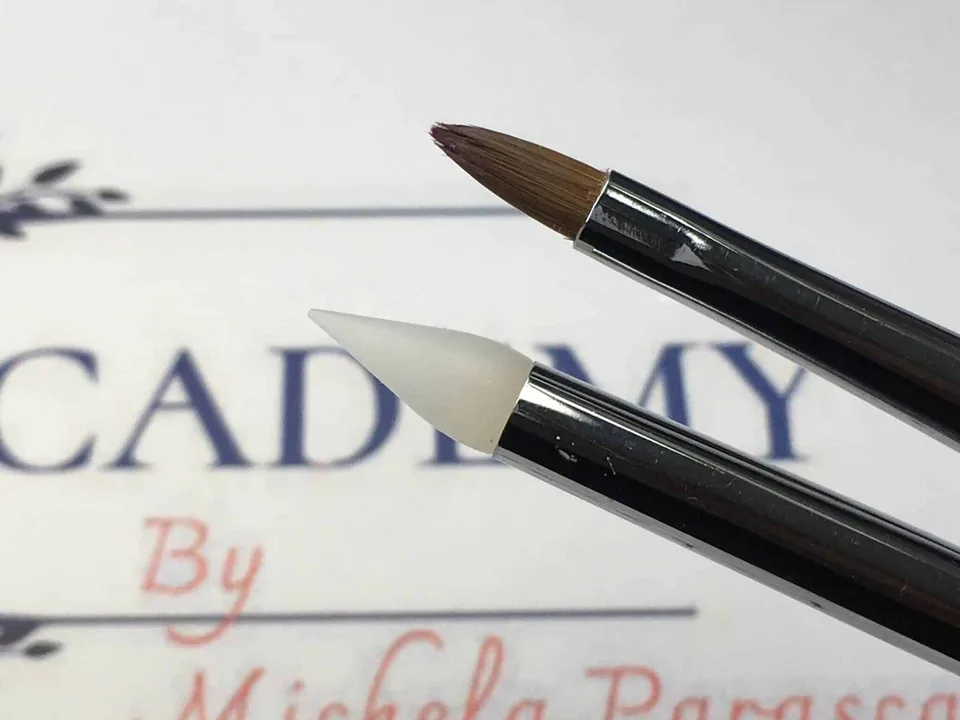
- Sculpting gel (plastiline): a pointed filbert brush in size 2/4, or dedicated silicone brushes.
Start your training at my academy
The most comprehensive online course platform in the nail world.
You will find courses in both nail sculpting and nail art.
Once you have purchased a course, it will be available on your profile forever.
Gel brush care and precautions
- Once a gel brush has come into contact with the product, the gel in its bristles can easily cure.
We therefore need to replace the cap or put the brush in a case as soon as we finish using it. Keep it away from UV or LED lamps, sunlight and even ambient room light. - Gel brushes should never be cleaned with chemical liquids.
No cleaner, alcohol or similar products.
Over time, these dry out the bristles, reducing their elasticity and causing them to splay out like a broom.
This may be a one-off option if a little gel has cured in the bristles, but it must not become a habit.
Once the bristles deteriorate, the brush becomes unusable.
How should it be cleaned?
Simply remove excess gel by gently drawing the bristles through a pad or paper towel. - Ideally, keep at least 3 colour brushes: one for dark colours, one for light colours and one for glitter.
If you are starting out and do not want to invest in three brushes, clean your single brush thoroughly, still avoiding chemical cleaners.
Gently work the bristles on a piece of paper with a drop of top coat or clear gel.
The clear gel works its way into the bristles and pushes out the colour. Wipe the bristles on paper and repeat until all the colour has been removed. - Some brushes do not come with a cap, or the cap may get lost.
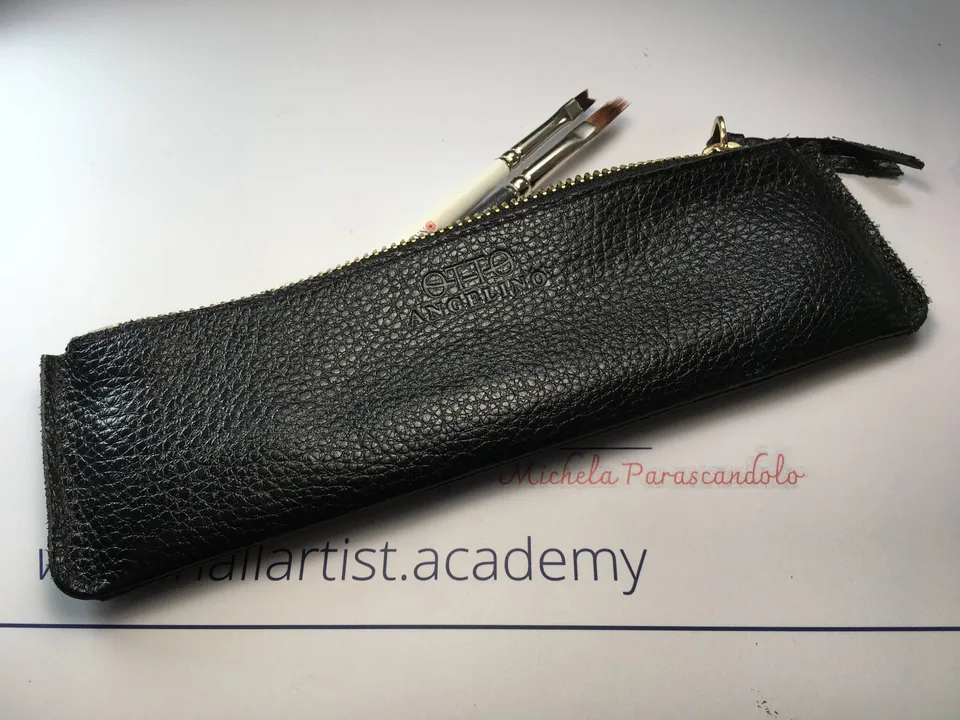
In these cases, I recommend a brush case to keep them protected from light, safe and, of course, neatly organised.
Brushes for acrygel
There are generally two options for working with this product:
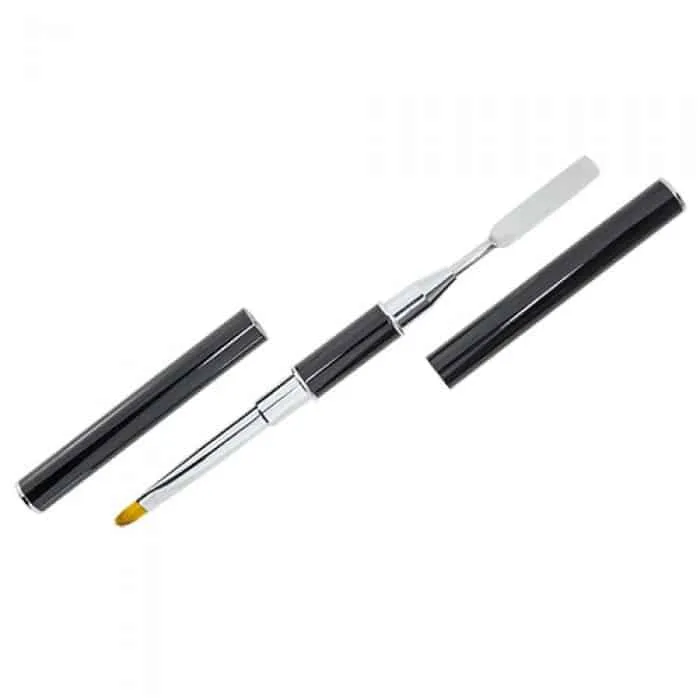
- The 2-in-1 brush has a spatula for taking product from the container. Its short synthetic bristles, however, tend to splay out after only a few uses. It is generally a standard size 6.
- The acrylic brush has long, natural Kolinsky sable bristles and comes in sizes from 6 upwards. Here too, I find size 6 or 8 ideal.
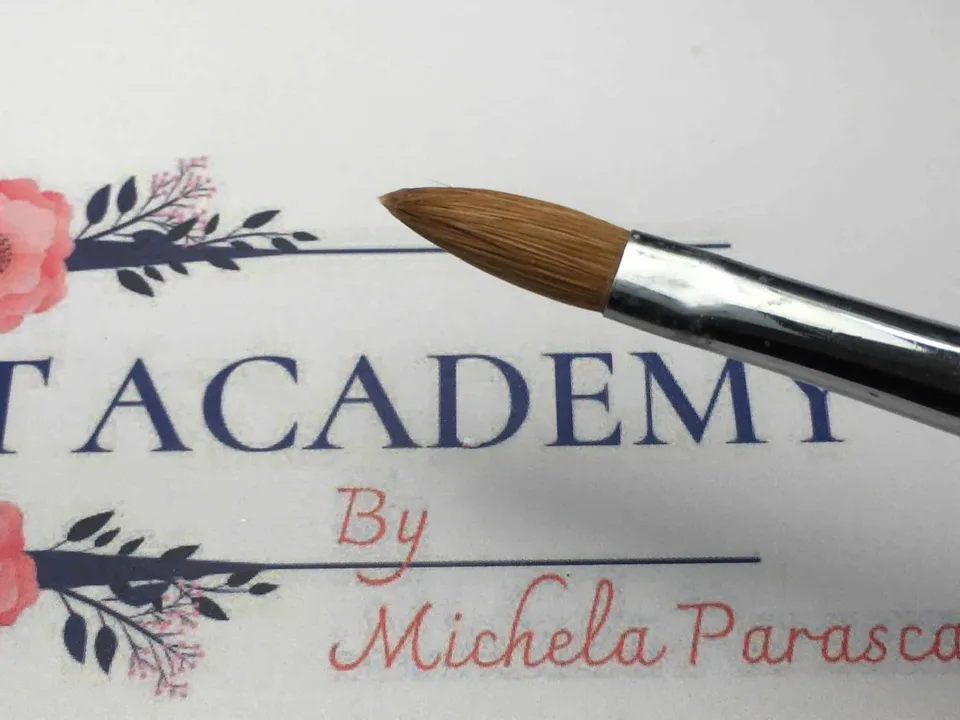
The maintenance tips for these brushes are the same as for gel brushes.
Acrylic brushes
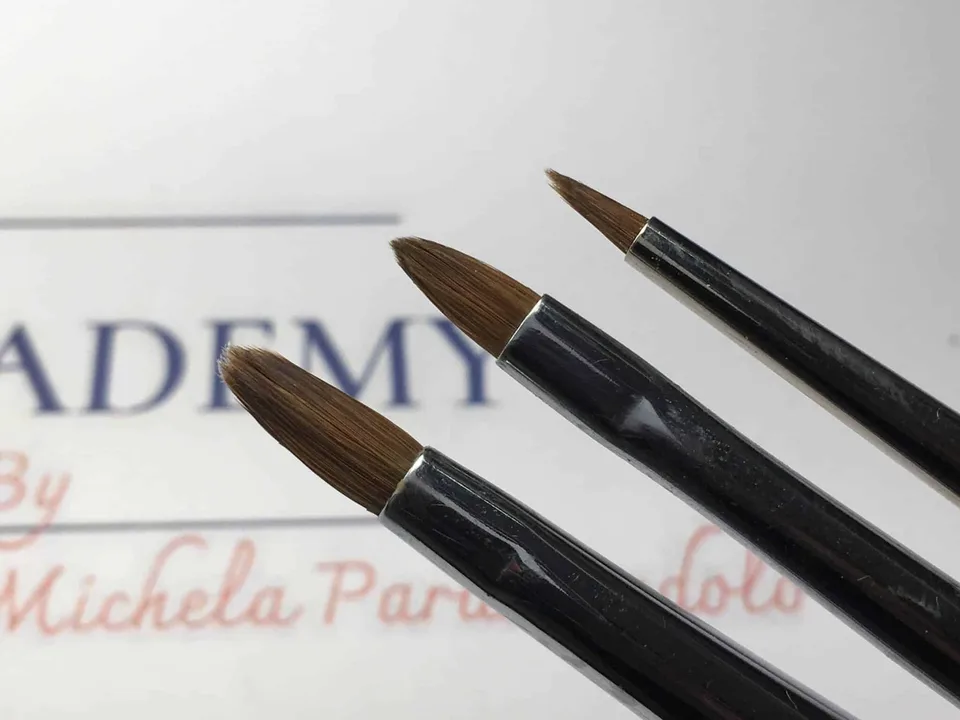
For acrylic, the preferred bristles are natural, specifically Kolinsky sable.
For sculpting we use a size 6, 8 or larger, depending on the amount of product and the size of the client’s nails.
Using a huge brush on a very small nail plate would be counterproductive.
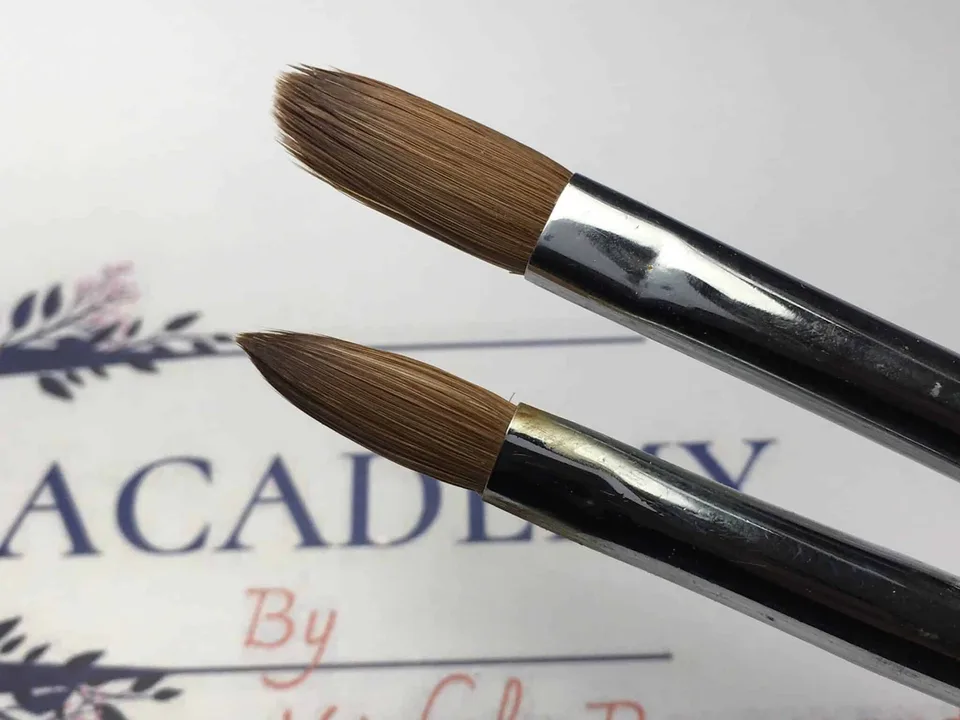
For nail art, natural-bristle filbert brushes with a triangular tip are used, generally in sizes from 0 to 4. Choose the size to suit the design.
Caring for acrylic brushes
With acrylic brushes, it is essential to keep them clean throughout the application process.
If we do not wipe the bristles regularly on a paper towel, the product on them will harden and make the brush unusable.
After the service, wipe the bristles thoroughly on paper and replace the cap. Store the brush horizontally or with the tip pointing downwards so that monomer does not run into and collect inside the metal ferrule.
Brushes for watercolour nail art and acrylic detail painting
- For watercolour, we generally use two natural-bristle brushes: a smaller one for fine lines and a larger one that holds more water for gradients and filling in areas.
These have a fuller body than gel liner brushes because they need a reservoir to hold and release water;
- For fine-detail painting with acrylic paints, we use a set similar to the watercolour brushes above, with the same roles: a small brush for fine lines and a larger one for filling in areas and blending gradients;
- for the flat technique (one move or one stroke) with acrylic paints, we use angled brushes in the same three sizes described for gel.
These usually have natural bristles, although synthetic versions are also available. The important point is that the bristles should not be stiff.
Caring for watercolour and acrylic detail painting brushes
These brushes should preferably be cleaned with water alone, or at most soap and water, then blotted dry and stored in their case.
Before storing them, you can lightly dip them in an acrylic paint retarder medium to keep the bristles soft and flexible.
Attention: different materials, different brushes!
You need a separate set of brushes for each type of material, because although some brushes can be switched to another material, they cannot necessarily be switched back afterwards.
For example, a brush used for gel cannot be used for acrylic, and vice versa.
A watercolour brush could later be used for gel, but once its bristles contain gel, they will no longer absorb water.
That is why you may find up to 4 identical brushes in my case, each reserved for a different material.
There is no getting around this rule.
The more materials we work with, the more brushes we will need!
Restoring a brush with damaged bristles
Here is one last care tip that may help rescue a brush with bent or splayed bristles: after thoroughly removing any colour or builder gel residue, dip the bristles in very hot water (almost, but not quite, boiling) for a few seconds. That should do the trick.
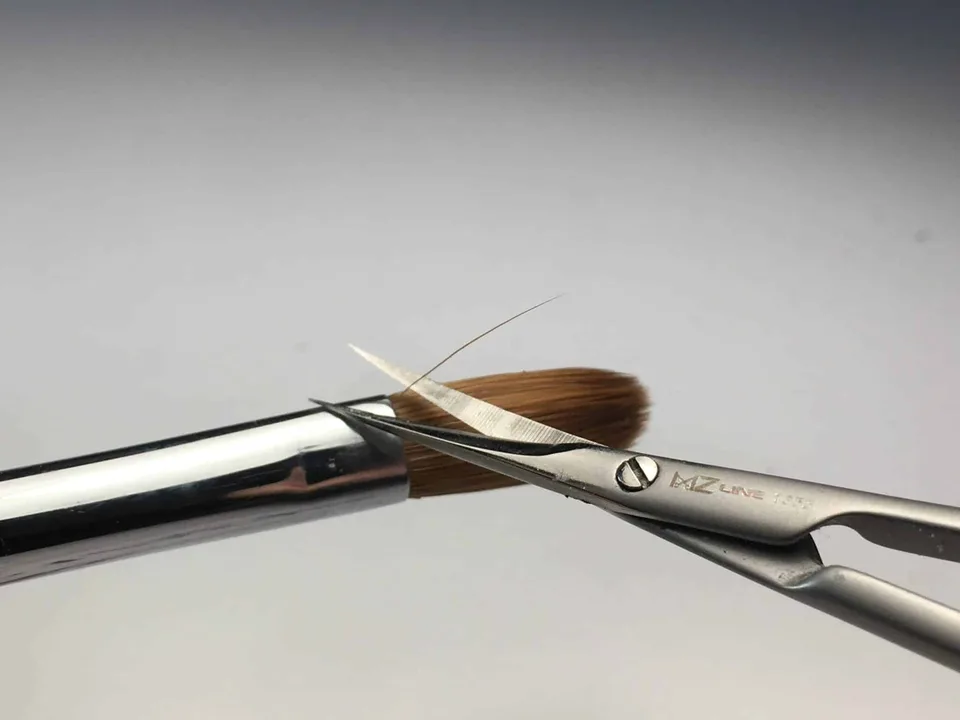
What if a single bristle sticks out and cannot be brought back into place?
Simply trim it off at its base, where it emerges from the ferrule.
How to choose the right brush?
One final thought.
Some brands have a small brush range, while others have an enormous catalogue. One may recommend an oval brush for sculpting instead of a flat, rectangular one; another may offer 6 different flat brushes. Different names across brands can also be confusing.
Why is this, and how do you find your way through all these bristles?
As mentioned above, a very low price (2/3 euros per brush) generally means a lower-quality product.
You do not need to spend 40 euros on a brush unless you really need that particular tool.
Brushes costing 10/20 euros each can also produce excellent results.
Some educators successfully use an oval brush for sculpting. Personally, I find that a rectangular brush gives me more control when working the product, and its pointed corners help with application and finishing. Ultimately, though, what matters most is how you work.
Try different brushes and choose what makes your work easier!
What if there are several versions of the same brush?
There may be versions with or without caps, with Swarovski crystals on the handle, or with bristles in different colours or slightly different lengths.
These may be purely cosmetic details, or they may substantially affect your work—for example, if the bristles are too stiff.
How do you choose?
Through experience!
Beyond practical considerations—a brush without a cap needs a case, and a very cheap brush is likely to be poor quality—you need to try them yourself and find the tool that suits your technique and makes your materials easier to work with.