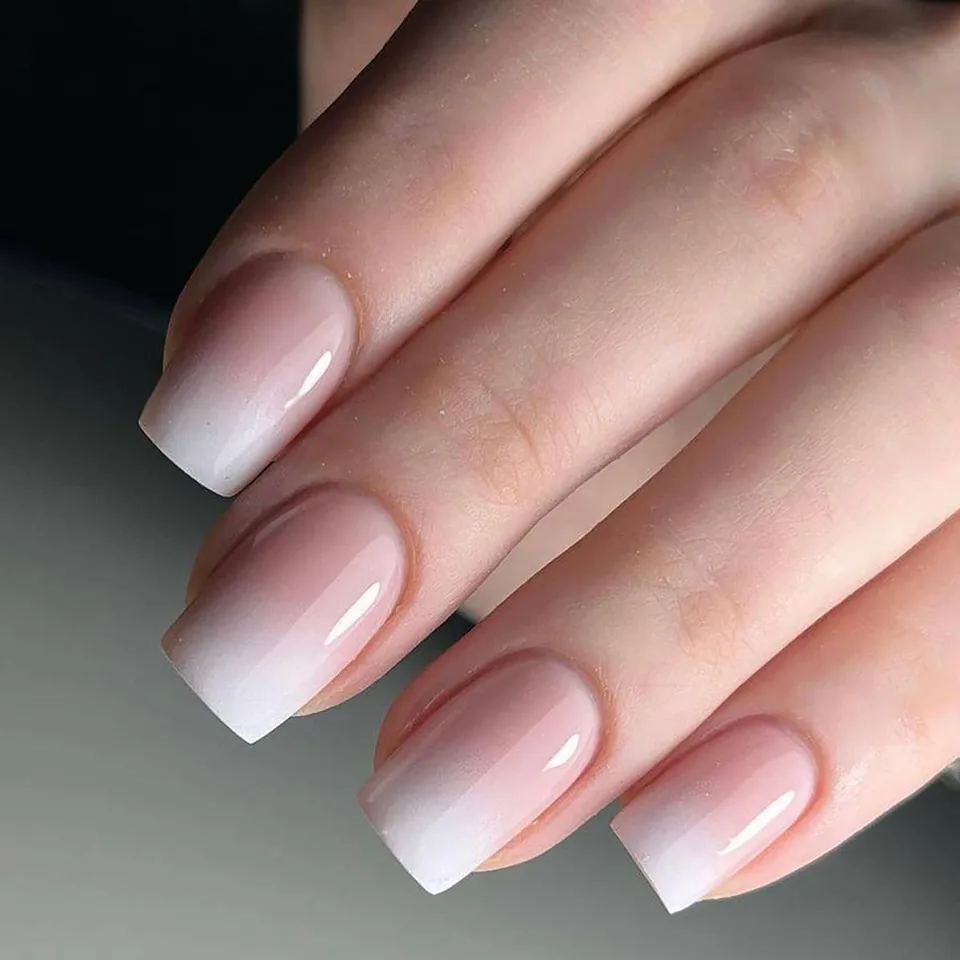
There is no official account of who created this manicure or why it received this name. Online, you will also find imaginative explanations with no basis in fact.
Where does the name “baby boomer” come from?
A little research points to the most plausible theories linking it to the “baby boomer” generation, born during the post-war rise in prosperity and birth rates, roughly 1946–1964.
It is said that natural milky pink, milky white and red were the most popular manicure colours at the time, making this manicure, with its blend of white and pink, a tribute to that generation.
Baby boomer nails: colours and variations
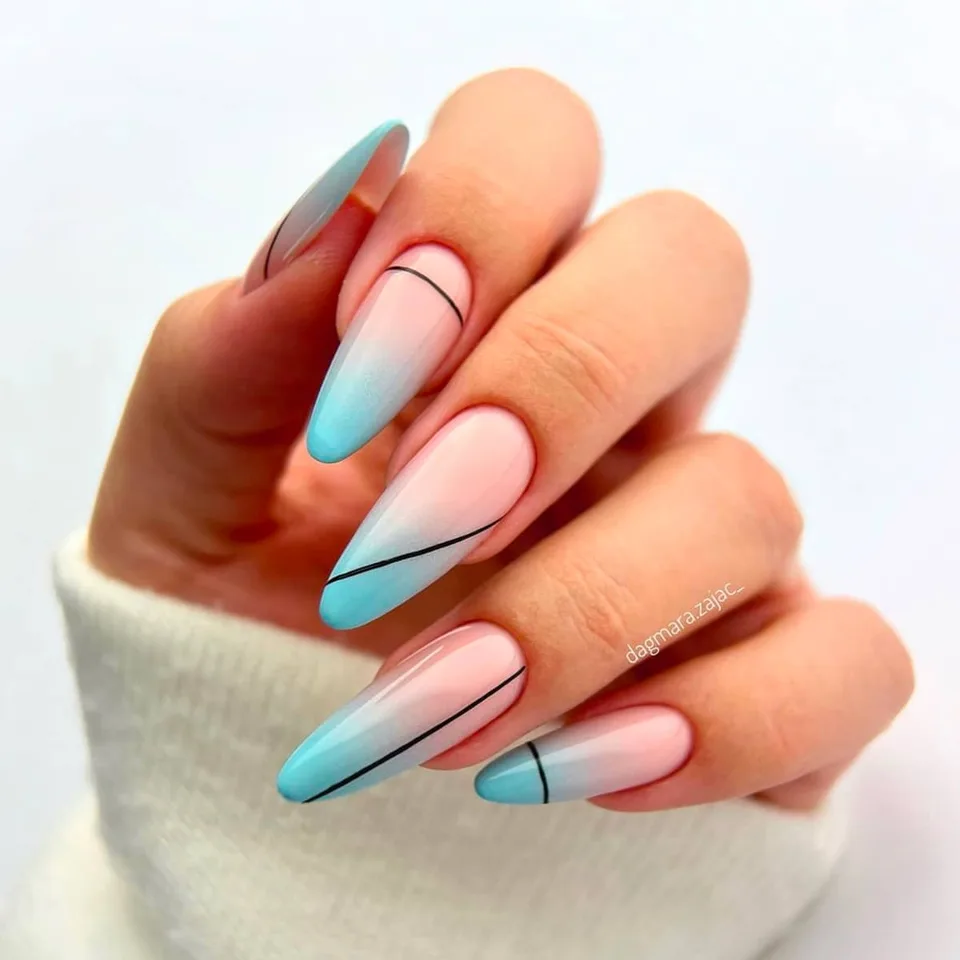
Although a baby boomer manicure is traditionally a soft gradient from milky pink at the cuticle area to milky white at the free edge, recent years have brought many variations.
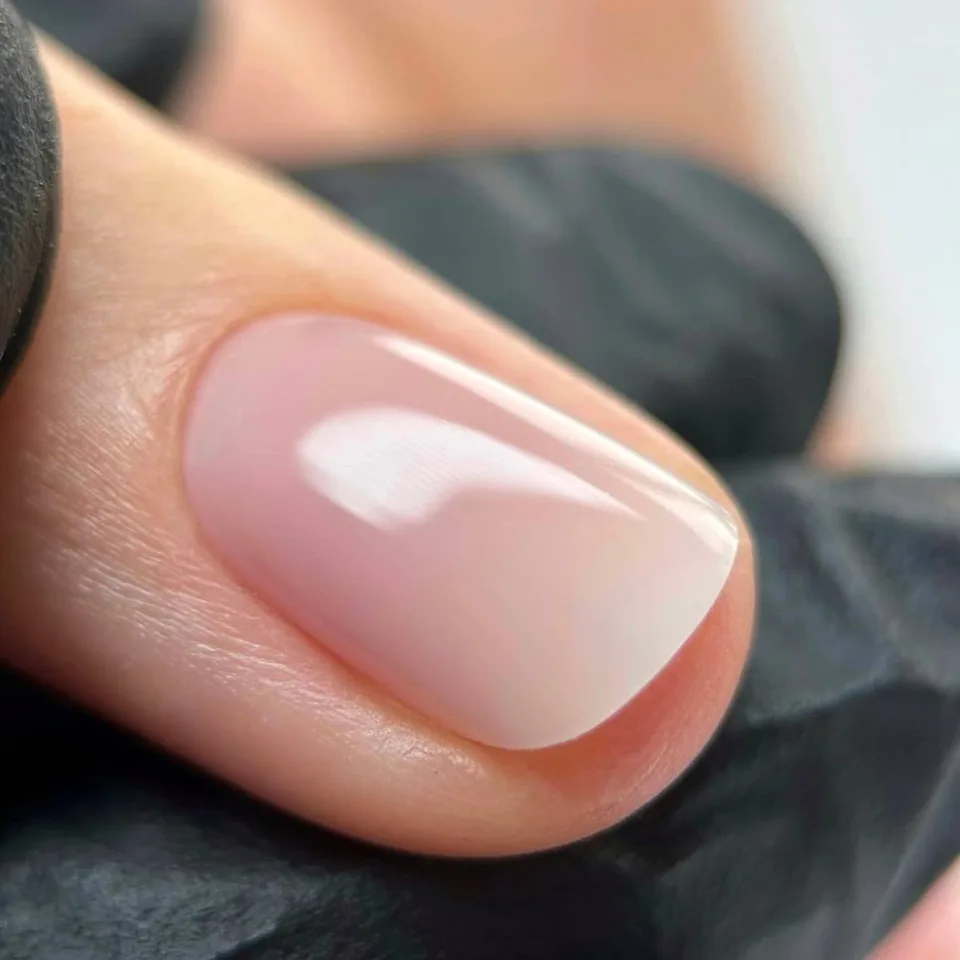
From coloured baby boomer nails replacing the white gradient, to glitter at the cuticle area and added decoration or nail art, there are countless variations.
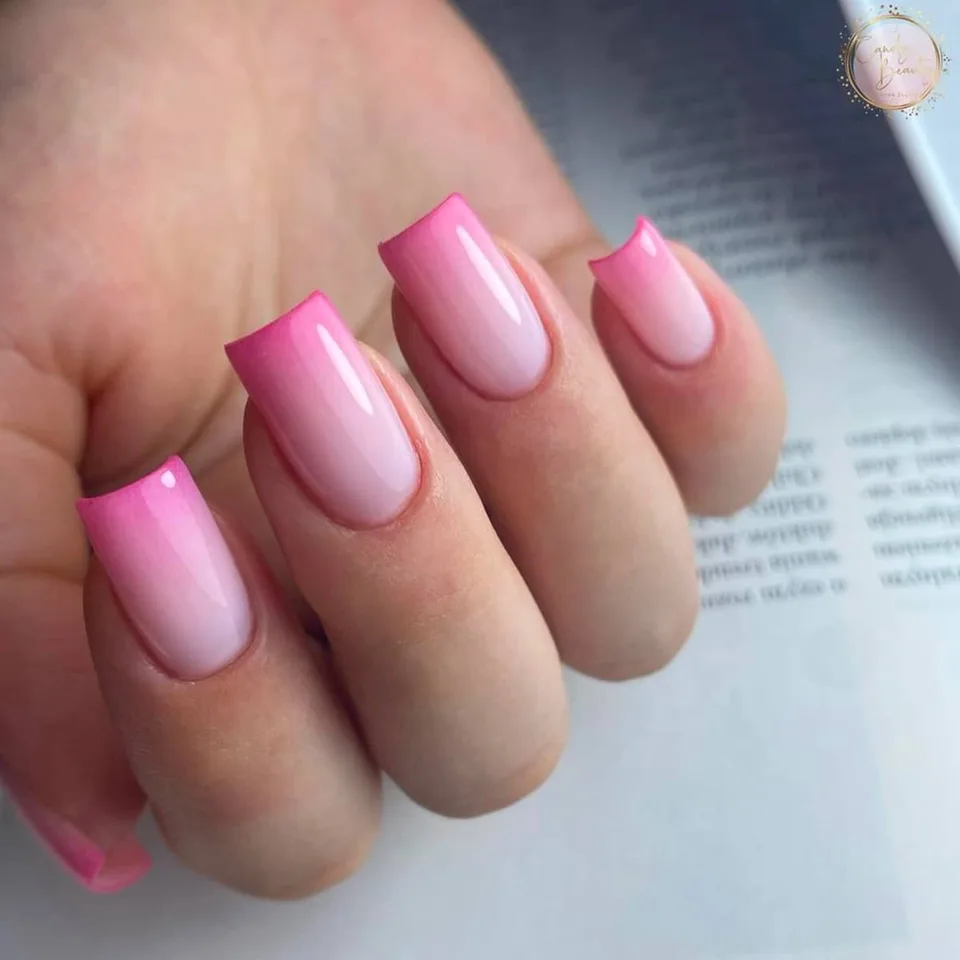
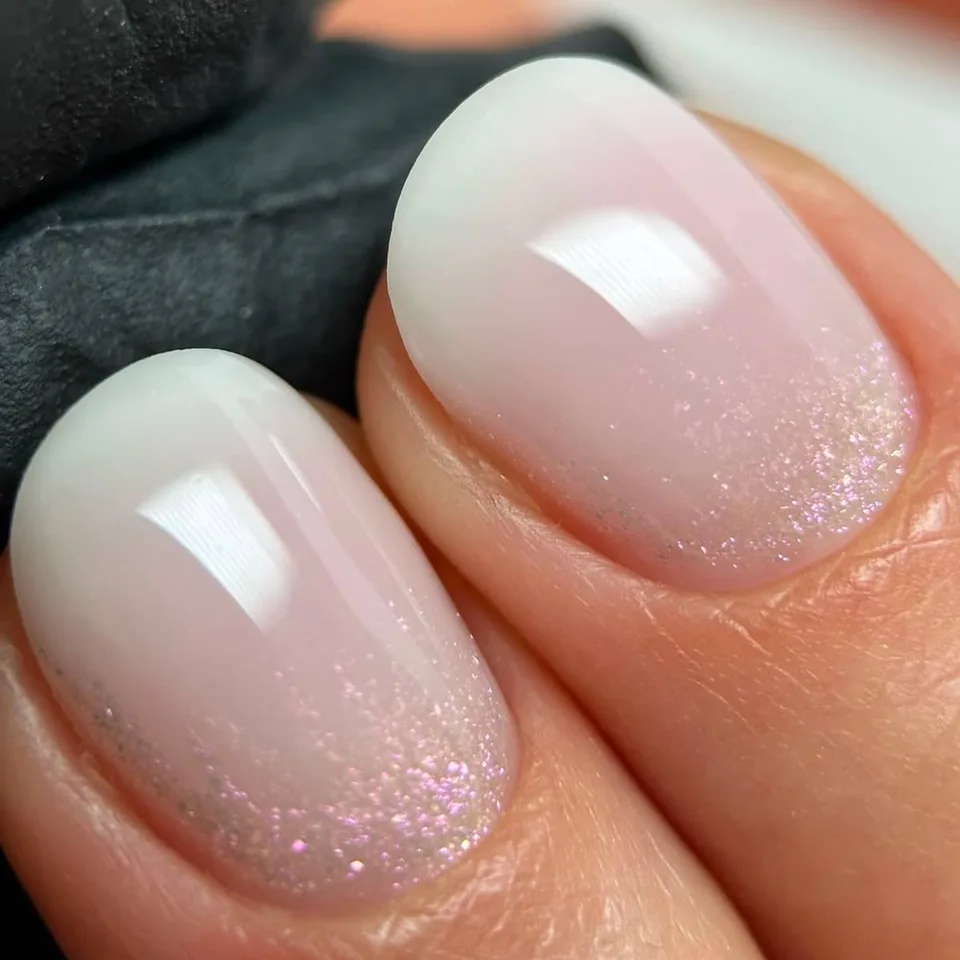
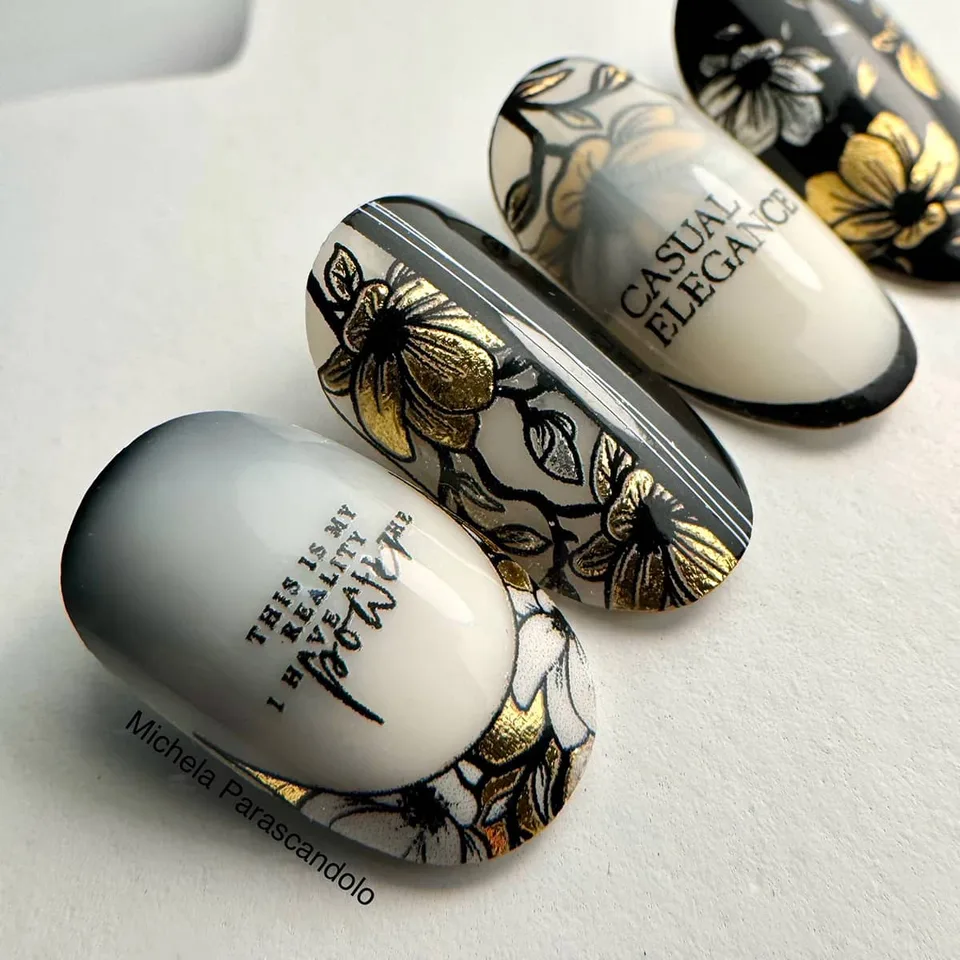
Its popularity stems from the fact that, like a French manicure, it suits almost any occasion. From casual settings to elegant events, baby boomer nails are a reliable choice, whatever the style or colour of your outfit.
Techniques and tips for flawless baby boomer nails
Delicate and refined in appearance, it can be just as challenging to execute flawlessly.
It requires a subtle gradient: whatever material you use, there is a risk of white patches that look far less elegant.
The keys to a successful baby boomer are:
- choosing the right pigmentation: milky builders for a sculpted version, or a highly pigmented white for a surface design;
- the skill of the nail technician: product quantity and thickness are crucial.
So are technique and a good eye; - the right products: a milky top coat can hide small blending flaws. Even among builders with similar colours and pigmentation, some pink-and-white pairings work much better than others. Experiment!
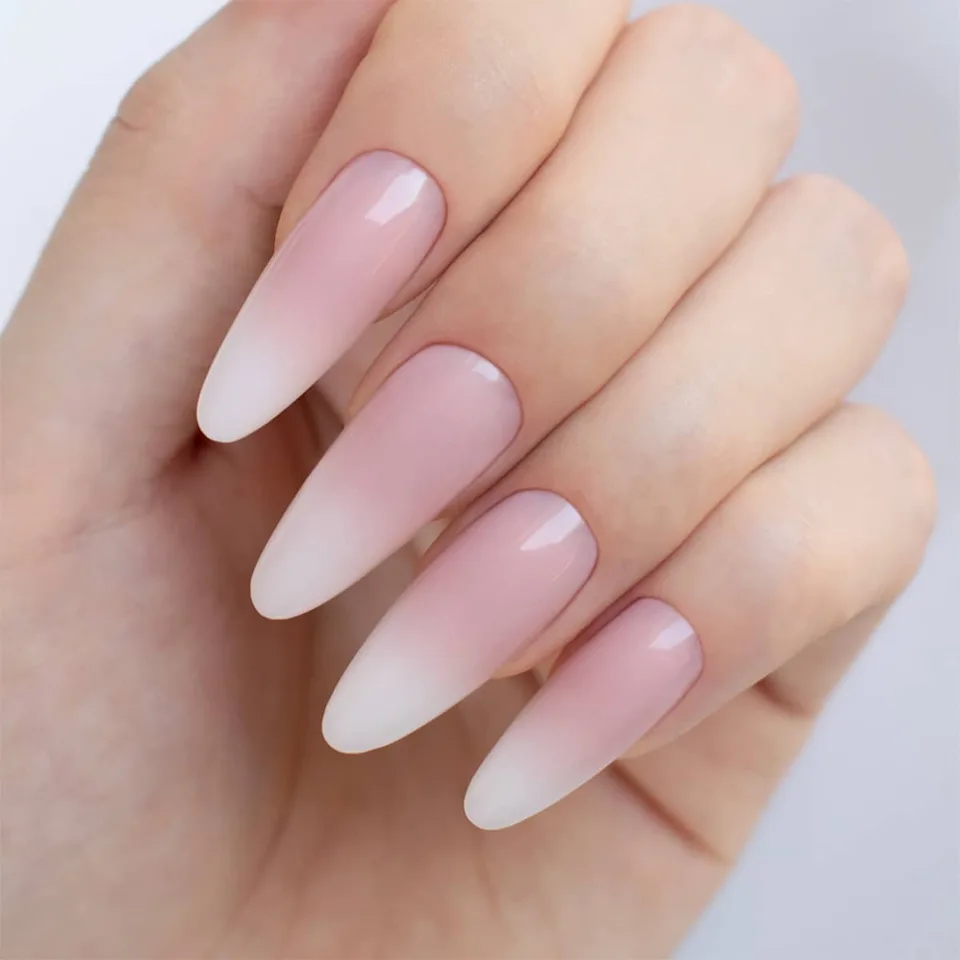
Let’s look at the techniques for creating baby boomer nails with different materials for extensions and overlays:
- traditional nail polish: perhaps the hardest to blend neatly, as it dries quickly and can become patchy. Ideally,
use a sponge and work very quickly! - traditional gel polish: again, use a sponge to
dab highly pigmented white gel polish over a milky pink overlay; - soft tips: for a quick result, use a pre-coloured
milky pink soft tip and sponge white painting gel onto its tip; - reinforced gel polish, gel, acrygel or acrylic: these materials offer two
options:- create the gradient within the structure, starting with a milky white extension layer and adding milky pink over the apex area.
Blend the pink towards the free edge, where white should remain dominant. The gradient can be created or refined through filing, a no-file technique or dual forms. - Alternatively, build the whole structure in a milky pink cover shade, then sponge white painting gel onto the tip.
Keep the sponge clean and free of lint, using adhesive tape to remove any fibres.
- create the gradient within the structure, starting with a milky white extension layer and adding milky pink over the apex area.
As a nail technician, you will often be asked for this effect, so you need to be ready!
This article explains the basics, but to learn the technique properly, consider my courses:
- to learn a sculpted baby boomer: the Acrygel course;
- to learn a sponged baby boomer: the Ombré and Gradient Nail Art Course.